Page Restoration
Accidentally deleted important content from a page? We’ve all been there before.
Luckily, it’s easy to restore previous versions of any page or post on Sites@Rutgers.
Accessing Revisions
The Revisions Navigator can be accessed through the Publish module when editing any page or post by clicking on “Browse” next to its number of revisions.
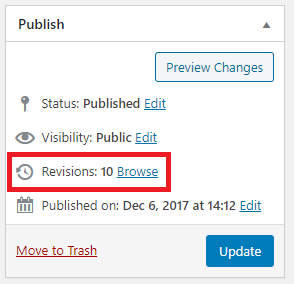
If your page/post has never been updated from its original version, or if you are just creating it for the first time, the revisions counter will not display in the Publish module.
You can also view a list of all past revisions at the very bottom of the page editor, with the most recent revision on top.
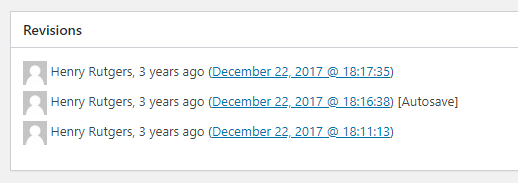
Clicking on any of these dates and times will take you to that specific version of the page in the Revisions Navigator.
The Revisions Navigator
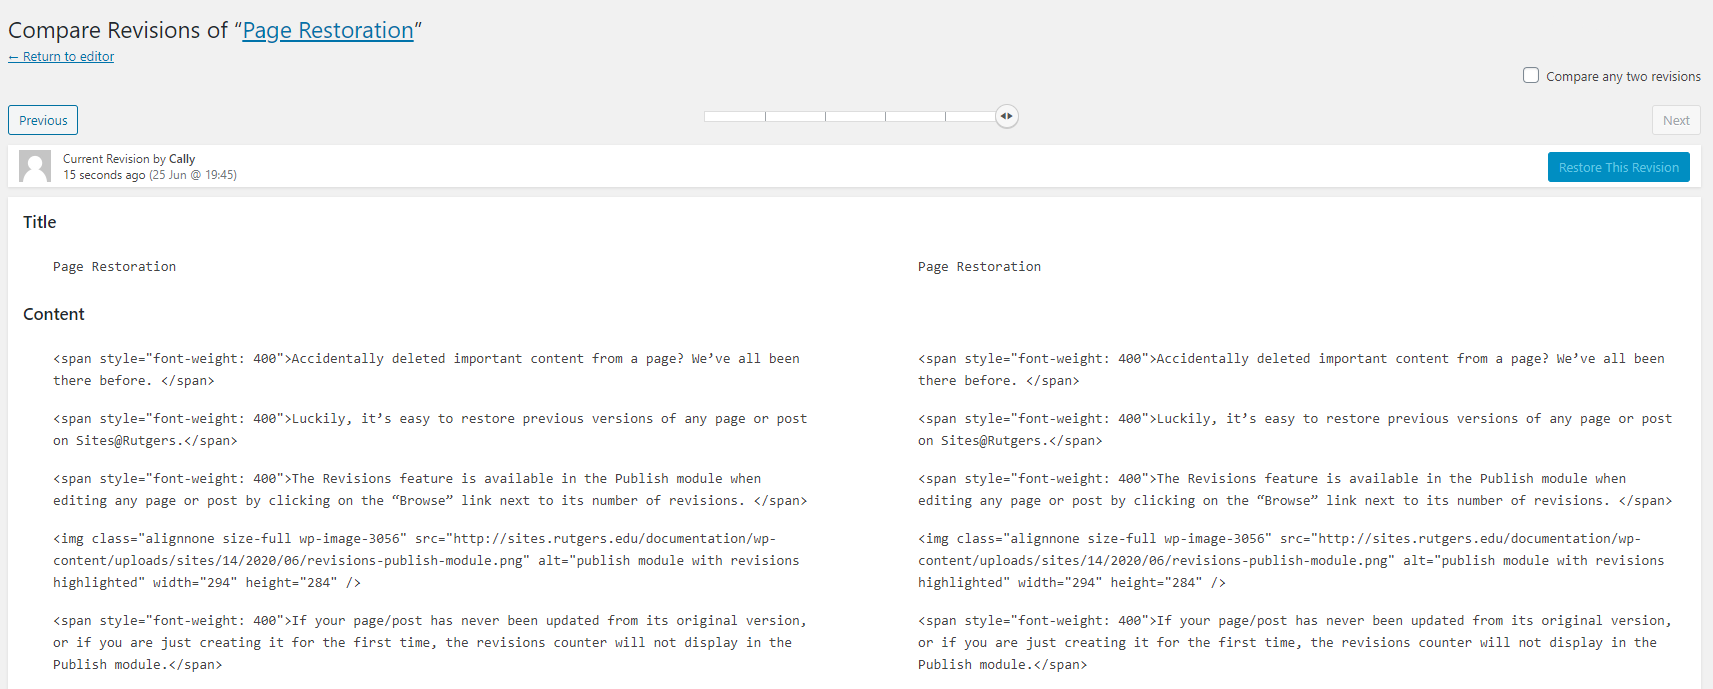
On the Revisions Navigator, you’ll find a timeline of all past revisions on that page.
Below it are two different columns displaying the HTML code on your page. Please note that the visual WSIWYG editor is not available on the Revisions screen.
The Revisions Timeline

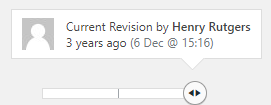
What you see in each of these two columns is controlled by the arrowed notch in the timeline up top.
If you drag the arrowed notch elsewhere in the timeline (or click the “Next” and “Previous” buttons at the ends of the timeline), the content of these columns will change.
Hovering over any notch in the timeline will show you the date and time that version was saved, and how long ago it was.
The second column (on the right) displays what your page’s code looked like at the exact date and time that you’ve selected with the arrowed notch.
The first column (on the left) displays what its code looked like before it was saved at the selected date and time.
For example, if you updated your page on July 14th and then again on July 15th, the version from July 14th would be in the first column, and the version from July 15th would be in the second column.
Unless you’ve already selected a specific timestamp, the Revision Navigator by default will display your most recent revision in the second column, and your second most recent revision in the first.
Comparing Revisions
The changes made to each version of your page are highlighted in red and in green: red for content that has been removed, and green for content that has been added.
You can also tell whether content has been added or removed by the plus or minus sign in the top corner of that particular section.


To compare any two versions of your page that aren’t side-by-side chronologically, check the “Compare any two revisions” box, and another arrowed notch will appear on the timeline.
![]()
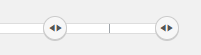
With this mode enabled, the first notch (on the left) controls the version of the page that is shown in the first column, and the second notch (on the right) controls the version that is shown in the second column.
Regardless of what mode you’re in, the best rule of thumb for navigating the page revision timeline is that whatever version of the page you want to restore should be in the second column.
Restoring a Page
To restore your selected version of the page, simply select the “Restore This Revision” button.
This will automatically restore the selected version of your page, immediately taking effect on the live site.
You will then be taken back to the edit page screen, where you can make any further edits to the restored page and save it as normal.
Once the page is restored and saved, it will count as another revision that can be restored via the timeline.
Video Tutorial
A video tutorial demonstrating how to use the Revisions Navigator is available below for further reference.