Sidebars & Footer Columns
Sidebars and footer columns are special areas of your site to which you can add content using Widgets. These areas are also known as Widget Areas.
Sidebars
A sidebar is a section to the side of a page marked by a separately colored box that might contain related links, navigation menus, or other important information on your site.
Sidebars are completely optional, and can contain either default content to be shared among all pages, or content unique to just one.

Assigning Sidebars
To the side of (or below, depending on your display settings) every page editor, there is a Sidebar Module with a dropdown menu that allows you to assign your selected sidebar to that page.
By default, pages will have the Default Sidebar selected. You can change this by selecting another sidebar from the dropdown.
Clicking the “Update” button will immediately update the page’s sidebar on the live site.
Your selection in this module will only affect the individual page that you are currently editing.
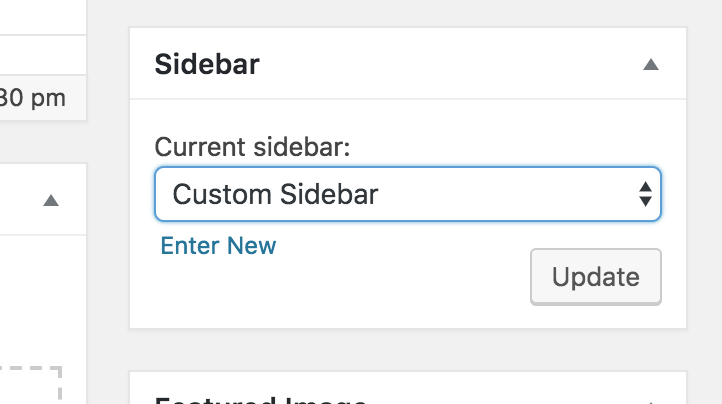
You can also create a new sidebar directly from the Sidebar module by clicking “Enter New”, which allows you to name and create a new sidebar without navigating away from the page editor.
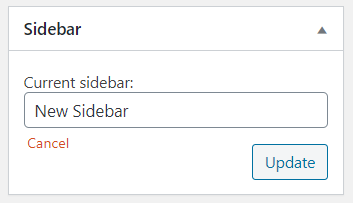
Keep in mind, however, that any sidebar created this way will be empty (and therefore will not display on the live site) until any Widgets are added.
To learn how to add Widgets to sidebars, see the Adding Widgets sections below, or the Widgets documentation.
Sidebar Position
You can choose to display your sidebar on either side of the page by selecting Left or Right from the dropdown in the Sidebar Position option under the Sidebar Controls module on the page editor.
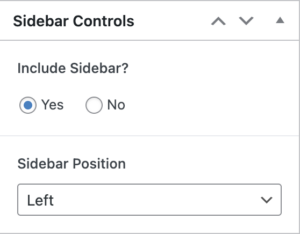
All sidebars will be displayed to the right by default.
Your selection in this module will affect only the individual page that you are currently editing.
Removing Sidebars
You can remove the sidebar by selecting No for the Include Sidebar? Option under the Sidebar Controls module on the page editor.
Selecting this option will remove the sidebar from only the page that you are currently editing.
Footers
The footer is a differently-colored section at the bottom of every page on your site that can contain helpful links, contact information, or other supplementary content on your site.

Footer columns are added, edited, and removed from your site in a very similar way to sidebars. However, unlike sidebars, your site’s footer is shared universally across every page, and you cannot assign different footers to each page as you can sidebars.
Footer Columns
Your site’s footer consists of four columns. Three of these columns are fully customizable using Widgets, much like sidebars.
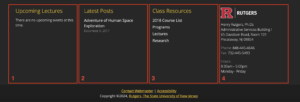
The fourth column at the right-hand side, however, is meant to display contact information only and is edited through the Contact Information screen of the Customizer.
The editable footer column Widget Areas are automatically titled “Footer Column 1”, “Footer Column 2” and “Footer Column 3”, and the Widgets you add to each column will display in that order from left to right as shown in the graphic above. These titles cannot be changed.
Unlike sidebars, you cannot add or remove footer columns.
To learn how to add Widgets to footer columns, see the Adding Widgets sections below, or the Widgets documentation.
Adding Widgets to Widget Areas
You can customize the content of any Widget Area on your site by using a feature called Widgets.
Widgets are editable snippets of content – essentially the building blocks of a sidebar or footer column. You can learn more about the kinds of Widgets available to you and how to use them on the Widgets documentation page.
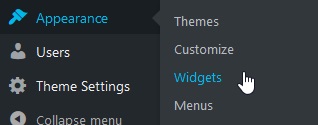
Through the Dashboard
You can add, edit, or remove Widgets from a Widget Area through the dashboard by selecting the Widgets tab under Appearance.
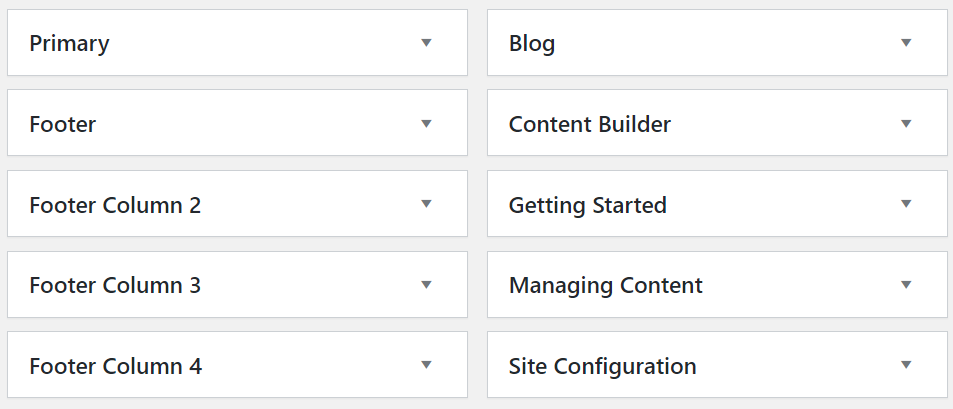
On the Widgets page, you will see a listing of all available Widgets on Sites@Rutgers, as well as a listing of all the Widget Areas currently on your site.
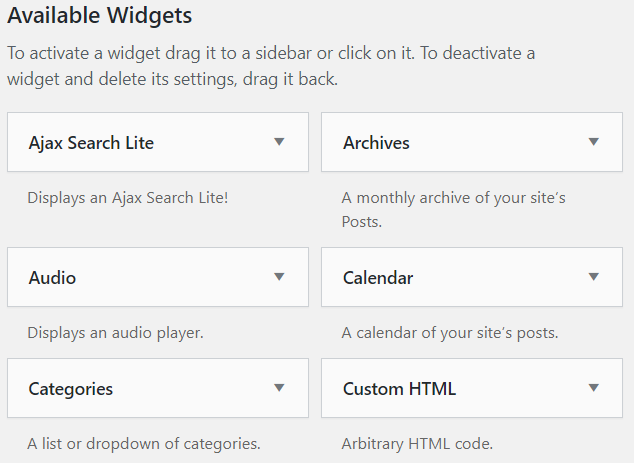
If you select any of the Widgets on this page, it will expand to show a list of all of your site’s Widget Areas.
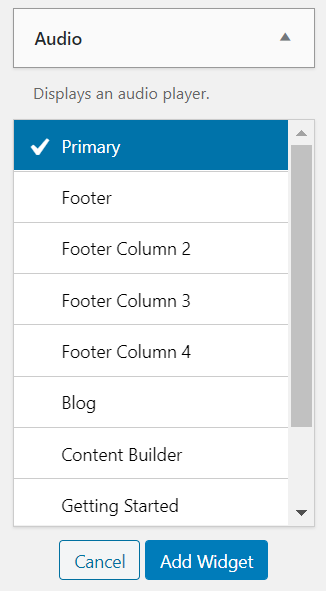
To assign this Widget to a Widget Area, select the name of that sidebar or footer column in the list, and then click the “Add Widget” button.
You can also assign a Widget by dragging and dropping it onto your Widget Area of choice.
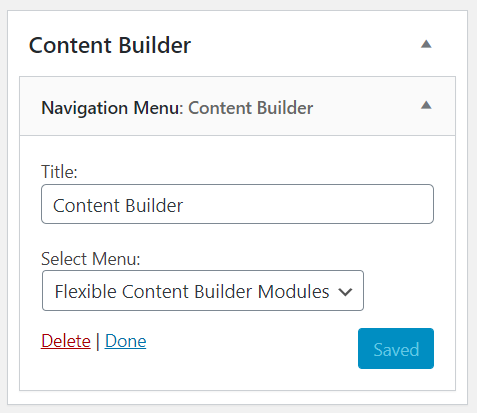
The title of each Widget Area (when expanded) will show all the Widgets with which it is currently associated. You may then configure these Widgets to your liking.
You can reorder Widgets simply by clicking and dragging each Widget to your preferred position in the Widget Area.
You can remove a Widget from a Widget Area by selecting the “Delete” option, or by dragging it back towards the “Available Widgets” section.
Keep in mind that removing a Widget from a Widget Area will also delete any settings you’ve configured for it.
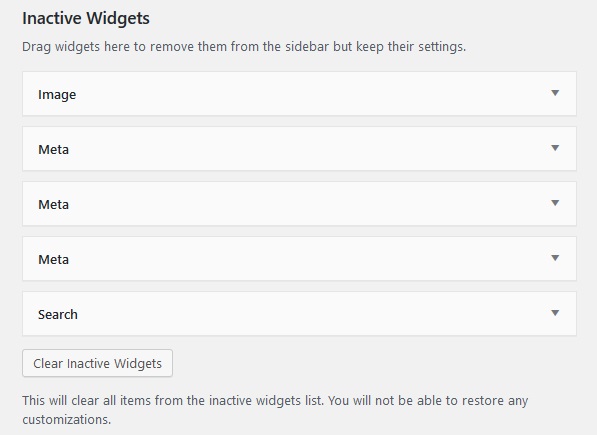
To remove a Widget from a Widget Area while still retaining its settings for future use, click and drag it into the “Inactive Widgets” section.
A deactivated Widget will not display under any Widget Areas, but its settings will be preserved unless it is deleted or all inactive Widgets are cleared using the “Clear Inactive Widgets” button.
The “Inactive Widgets” section is only available through the Dashboard Widgets screen.
Through the Customizer
You can also add, edit, or remove Widgets from a Widget Area by selecting the Widgets tab in your site’s Customizer.
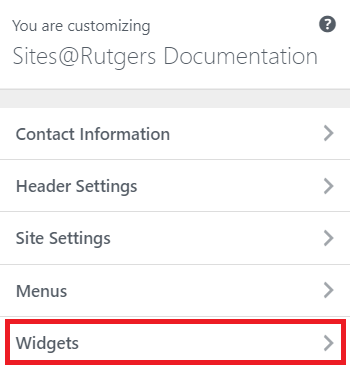
In the Widgets tab, you will see a list of Widget Areas on your site.
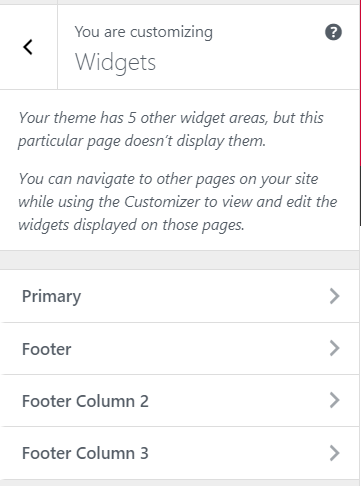
Please note that this list will only include the Widget Areas that are displayed on the page you are currently viewing through the Customizer. Since your site’s footer is universal, this only affects which sidebars are shown.
For example, if you are viewing your site’s homepage through the Customizer, the only sidebar displayed on this list will be the one that is associated with the homepage.
To edit a sidebar that is not listed on the Widgets page, simply navigate in the Customizer to a page that displays that sidebar.
Once you’ve selected a Widget Area, you will see a list of all the Widgets with which it is currently associated.

The Widgets in this list can be expanded to display details and editing options.

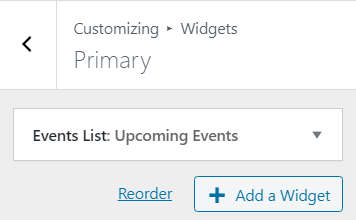
Selecting the Add a Widget button will bring up a list of each available Widget on your site, followed by a brief description of what it does.
If you are looking for a specific Widget, you can also type its name into the search bar up top.
To add any of these Widgets to a Widget Area, simply select its entry on the list and it will be automatically added.
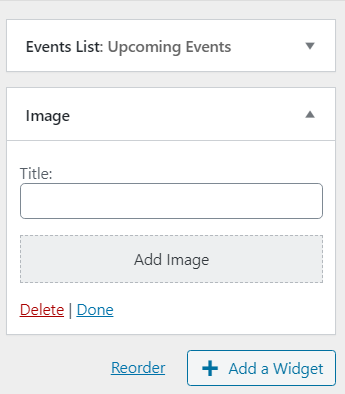
It should now be displayed under the Widget Area’s list of Widgets, and can be edited as needed.
To reorder the Widgets in a Widget Area, select its “Reorder” option, which expands the Widget to show up and down arrows that shift the Widget in the corresponding direction when clicked.
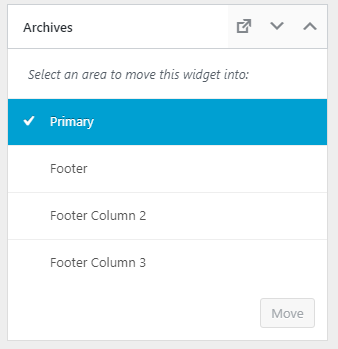
The Reorder menu also lets you move individual Widgets to other Widget areas by selecting a different area from the dropdown and selecting “Move”.
You can also reorder Widgets simply by clicking and dragging each Widget to your preferred position in the Widget Area.