Hosting and Scheduling a Meeting
To schedule a meeting, click “Schedule” on the WebEx Meetings homepage. After being redirected to the Schedule a Meeting form, enter a Meeting Topic and select an appropriate date, time, and duration. Next, enter a list of attendee email addresses into the Attendees field. You can designate an Alternate Host by clicking the icon next to the attendee’s name (Fig 1 #1). This option is only available for users who have active WebEx accounts.

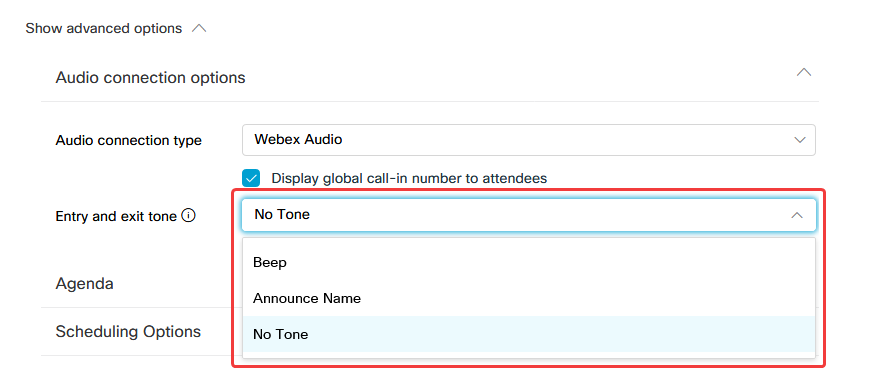
You have the option of configuring a scheduled recurrence by clicking the Recurrence checkbox. Additional advanced options are available by clicking the “Show advanced options” heading at the bottom of the form. Underneath the Audio connection options, you can change the Entry and Exit Tone to No Tone (Fig 2).
At the bottom of advanced options who can edit attendee privileges. Here is where you can remove private chats by unchecking other participants (Fig 3).

Once you have completed the form, click Schedule.
Once a meeting has been scheduled, WebEx will automatically send an email to all identified attendees which includes a calendar invite and link to join the meeting. As the host, you will receive a separate email which includes a calendar invite and link to start the meeting.
If you will be using the same settings and inviting the same attendees in the future, you can save the scheduling template (Fig 4).

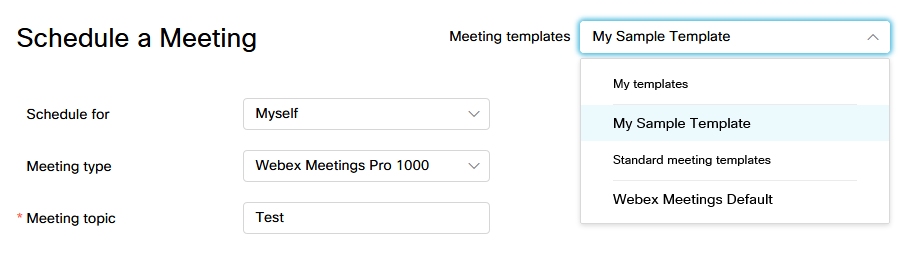
The next time you schedule a meeting, the template will be saved in the dropdown Meeting Templates (Fig 5).