Categories & Tags
Categories and Tags are two ways of sorting your site’s posts for easy organization.
While both are organizational tools, the way in which they are used is slightly different: categories reflect the broad topic of a post, while tags reflect its more specific topics.
That being said, the creation and assignment process for both categories or tags is nearly identical.

Adding a Category or Tag
You can add a new category or tag by selecting the “Categories” or “Tags” tab in the Dashboard side menu.
This will take you to its respective page, where you can then fill out a form with information about that new category or tag.
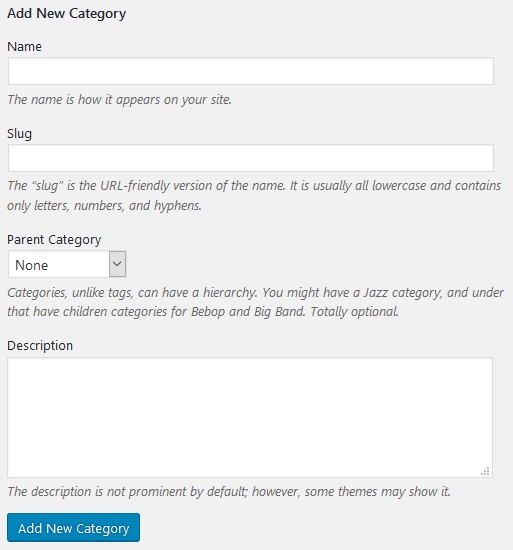
This form includes the following fields:
- Name (what you’d like the category or tag to be called)
- Slug (how its name will appear in the URL bar)
- Parent Category (Categories only – if there’s another category you’d like this one sorted under)
- Description (any personal notes you’d like to make; this field is not displayed anywhere on your site)
Select the “Add New Category/Tag” button, and your new category or tag will be created. It can then be assigned to posts as you see fit.
Editing or Deleting a Category or Tag

The Categories and Tags pages also contain a list of all the categories or tags currently on your site, along with relevant details.

Hovering under the name of a category or tag will provide you with options to edit, delete, or to view all posts to which it has been assigned.
Checking the boxes next to the name of a category will allow you to mass delete those categories by selecting the “Delete” option from the bulk actions drop-down, and then clicking the Apply button.
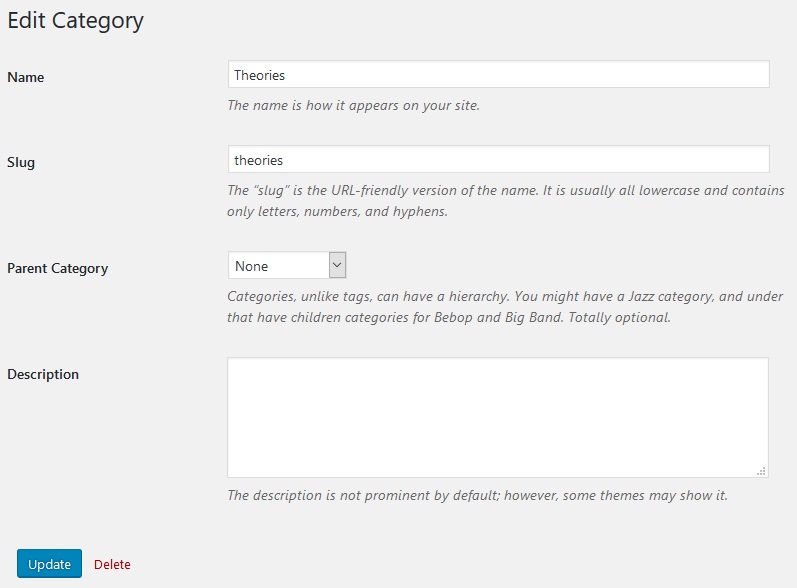
Clicking Edit will allow you to edit the previously-filled information for that particular category or tag. Click the Update button to save your changes.
Assigning Categories and Tags
You can assign categories and tags to a post through the Categories and Tags post modules. Depending on your display settings, these modules appear either beside or below the WYSIWYG page editor.
The Categories module consists of two tabs, one that lists every category currently on your site, and the other that lists only your most frequently used categories.

To assign a category to a post, simply check the box next to its name in the Categories module. You can assign as many or as few categories to a post as you’d like.

You can also add new categories directly through the Categories module by clicking “+ Add New Category” and assigning it a name and parent category (if desired).
Any new categories created through the Categories module will be automatically assigned to the post in question.

You can assign a tag to a post using the Tags module by inputting it into the tag field, or by selecting its name in the most used tags cloud.
You can also create new tags by inputting them into this field. Tags added through the Tags module will automatically be assigned to the post in question.
The post’s current tags are displayed in the module as they are assigned, and can be removed by clicking their respective X buttons.