Post Creation Process
The process of creating, editing, and deleting a post is very similar to that of pages, save for a few key differences.
Creating a Post
To add a new page, hover your cursor over the “Posts” tab in the left-hand navigation menu on the dashboard and, in the fly-out menu, click Add New.
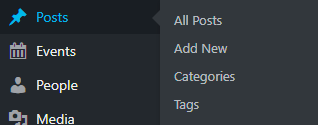
Alternatively, you can click on the “Posts” menu option and then select either “Add New” underneath or at the top of the page.
This will take you to a blank page editor that may be edited using any of the components below.
Titles
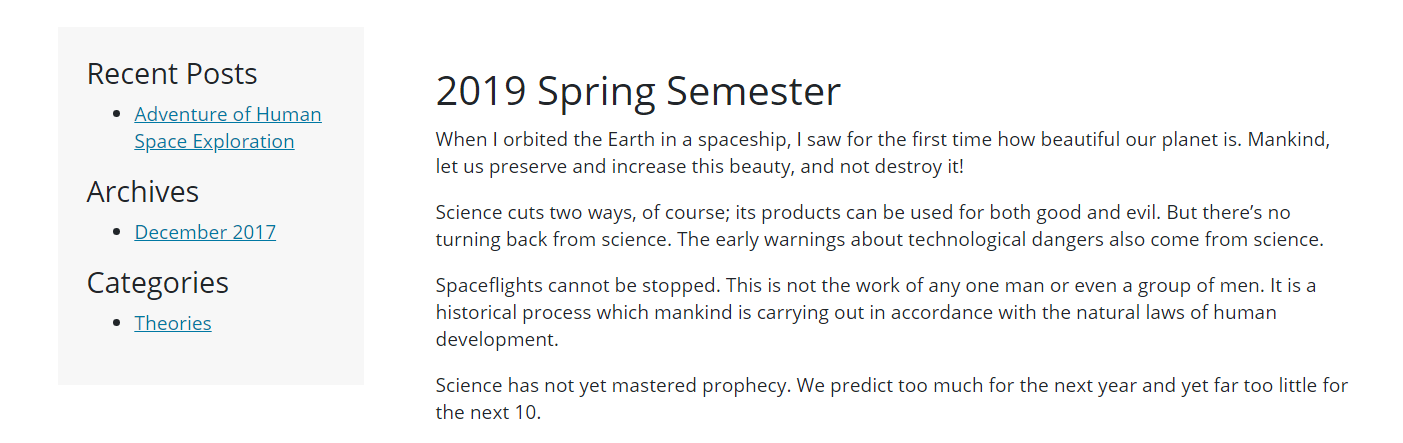
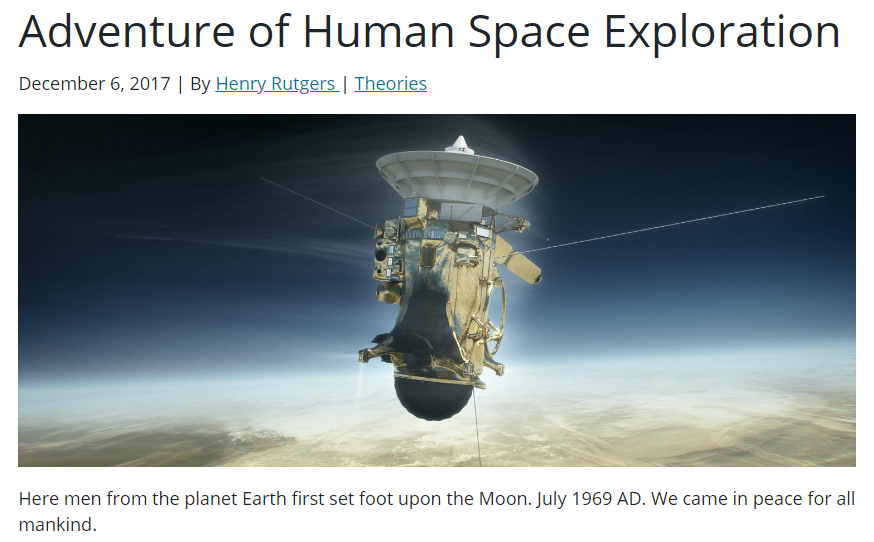
You can enter a title for your post into the topmost field of the editor that reads “Add title”.
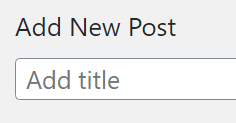
This title will be displayed as an H1 header at the top of the post in question. If the field is left blank, no title will be displayed.

Unlike with pages, the date, author, and category of the post are displayed underneath the title.
Once you enter a title, a permalink for the post will automatically be generated below the title field. This is the URL at which your post will be available once it is published.
You can change this URL at any time by clicking the “Edit” button next to it.

Clicking this permalink will bring you to the post on the live site, or to a preview of the post if it has not yet been published.
Visual Editor
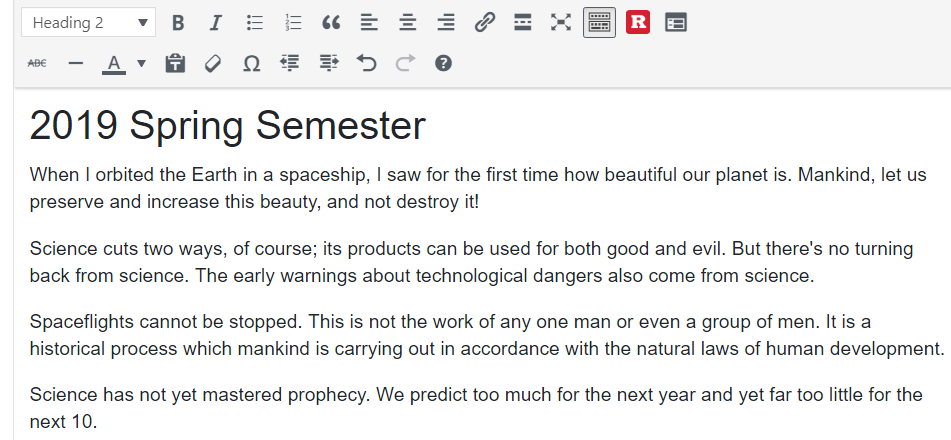
The majority of a post’s content is configured using the WYSIWYG (What You See Is What You Get) text editor. You can add formatted text, links, media, and much more to a post using this editor with no coding knowledge whatsoever.
Any content you add to the WYSIWYG editor will, for the most part, appear on your live site in the exact same way it appears in the editor.
Check out the Full-Width Text Editor Module documentation for more information about the WYSIWYG editor.
Unlike with pages, the Flexible Content Builder Modules cannot be added to the body of posts.
Post Modules
Post Modules are areas of the post editor that provide additional configuration options.
Depending on which Screen Options you’ve enabled, the modules displayed and their exact placement in the post editor will differ, but there are four main modules involved in the creation of a post: Publish, Categories, Tags, and Featured Image.
The Categories and Tags modules have to do with how a post is sorted on the site. More information about these modules is available on the Categories & Tags documentation page.
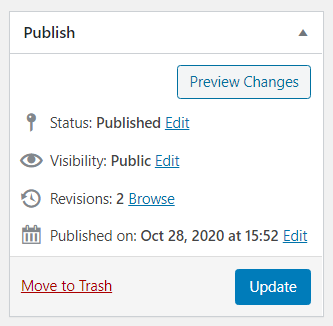
The Publish module allows you to publish or draft a post, configure its level of visibility, and access revisions.
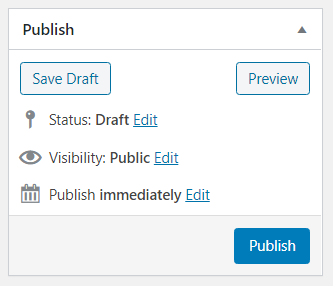
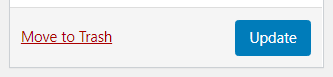
To publish your post, simply click the “Publish” button in the Publish module.
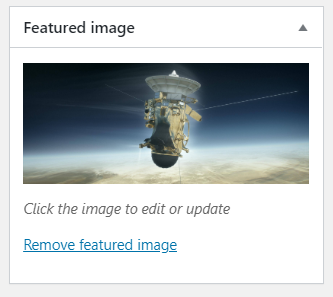
The Featured Image module allows you to upload an image from the Media Library to be displayed above the post.
The Sidebar and Sidebar Position modules are not available on the post editor, as posts will always display your site’s Default Sidebar.
Editing a Post
The process of editing a post is very similar to that of creating a post.
You can edit a post by finding it in the All Posts view, and clicking on Edit. This will take you to that post’s editor.

You can then add, remove, or edit existing content like before using the visual editor, content builder modules, and page modules.
To access past versions of a post when editing, check out the Revisions Timeline.
Deleting a Post
You can delete a page by hovering over it in the All Posts view and clicking on Trash.

Alternatively, you can delete the post you’re currently editing by clicking Move to Trash at the bottom of the Publish module.
Keep in mind that you will not receive a prompt to confirm deletion before trashing a post.
Deleted posts are automatically sent to the Trash, which you can find at the top of the All Posts view.
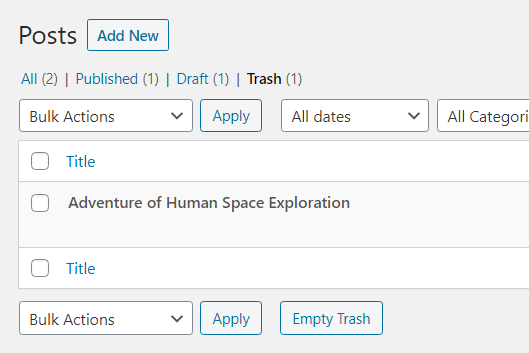
The Trash is a listing of all deleted posts on your site.

From here, you can choose to either permanently delete the post, or to restore it to its former status. This fail-safe prevents any posts from being accidentally deleted for good.
Video Tutorial